
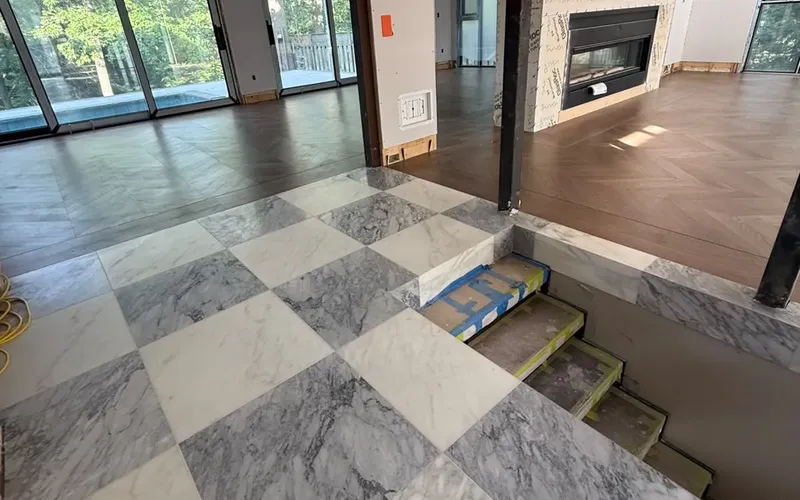
Flooring
Flooring in a Toronto Home: What Survives Winter Salt and Humidity
Which flooring holds up to road salt, slush and the dry-winter, humid-summer swings of a Toronto house, room by room, and the installation steps that matter.
Read the guide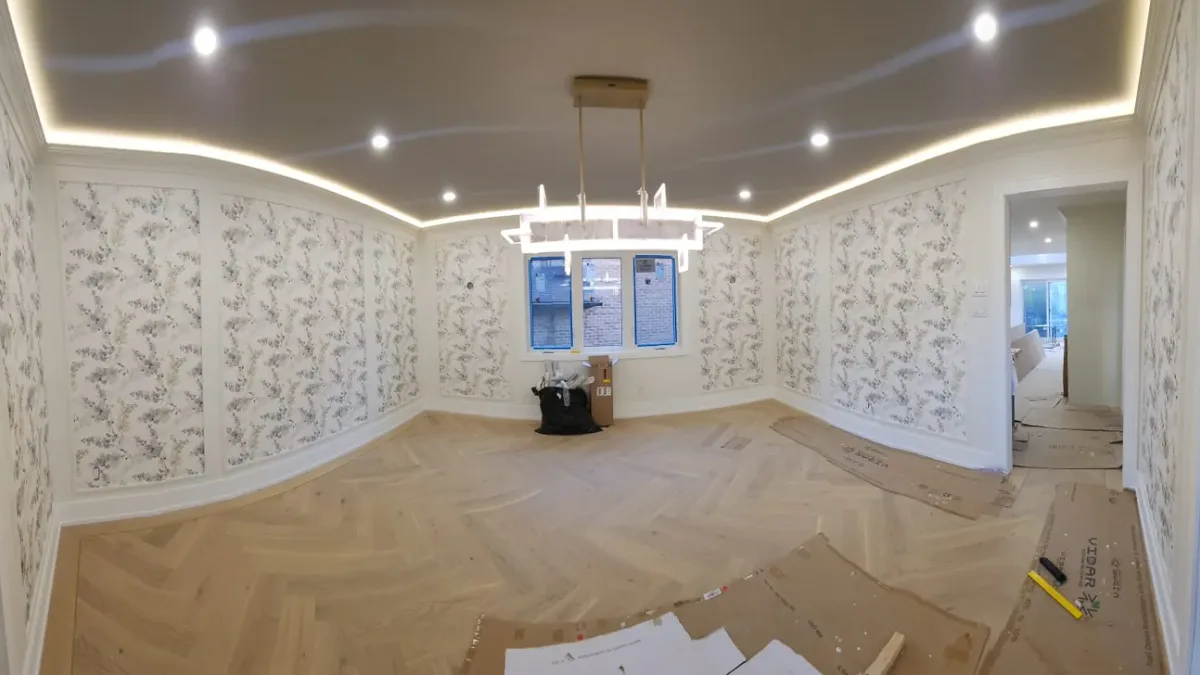
How to plan lighting in a Toronto renovation: the three layers, where pot lights and pendants go, colour temperature, dimmers and switches set before drywall.
Lighting · October 2, 2026 · 9 min read
A renovation lighting plan decides more about how a finished room feels than the paint colour does, and it is the part homeowners most often leave until the electrician is already standing in the room. Lighting has to be settled while the ceilings and walls are open: every box, every wire run and every switch position is fixed before drywall goes up. Moving a pot light after the ceiling is taped and painted means cutting, patching and repainting.
This guide covers the three layers of light a room needs, where fixtures actually go, how to choose colour and brightness, and how to plan the switches so the room is easy to live with. It is written for homes in Toronto and the GTA, where the work is governed by the Ontario Electrical Safety Code.
Good rooms are lit in three layers: ambient light that fills the room, task light aimed at the surface where you work, and accent light that picks out a wall, a shelf or a ceiling detail. A single fixture in the middle of the ceiling only does the first job, and it puts your own shadow on anything you try to do at the edges of the room.
| Layer | Its job | Typical fixtures | Where it matters most |
|---|---|---|---|
| Ambient | Even light to move around by | Recessed pot lights, flush ceiling fixtures, cove lighting | Every room; basements, which get little daylight |
| Task | Bright, shadow-free light on a work surface | Under-cabinet strips, island pendants, vanity lights, lit mirrors | Kitchen counters, bathroom vanity, desk, laundry |
| Accent | Draws the eye to a feature, adds depth at night | LED strips in coves, niches and shelves; wall washers; picture lights | Feature walls, built-ins, shower niches, ceiling details |
The layers only work if each one can be switched or dimmed on its own. Pot lights, pendants and a cove strip all wired to one switch give you one setting: everything on. It is one of the most common lighting mistakes in rooms renovated without a plan.
Pot lights belong where light is needed, not on a neat grid in the middle of the ceiling. Place the first row so its light lands on the counters, the wall art or the front of the cabinets, then fill the middle of the room. Spacing depends on ceiling height, the fixture's beam and the joists you have to work around.
A rule of thumb many lighting designers use is to space recessed lights roughly half the ceiling height apart. On a standard 8-foot ceiling that puts them about 4 feet apart, and the first row 2 to 3 feet out from the walls. It is a starting point for the drawing, not a law: a fixture with a wide beam can sit further apart, and a narrow spot needs to be closer.
Once the ceiling is open, the real layout has to fit between joists, ductwork, plumbing and the beam that holds up the floor above. Thin LED wafer lights need very little depth and no large housing, which makes them practical in older Toronto houses with shallow or crowded joist bays. Where a light falls on a joist, it moves a few inches; the plan should say which way.
A recessed light in a ceiling with insulation above it must be rated for insulation contact (marked IC). An airtight (AT) rating also matters on a top-floor ceiling: every unsealed pot light is a hole that lets warm, moist indoor air into the attic in winter.
Over a kitchen island, the bottom of a pendant usually sits about 30 to 36 inches above the counter, high enough to see across and low enough to light the surface. Over a dining table the range is similar. In a room you walk under, a fixture needs head clearance first, and looks second.
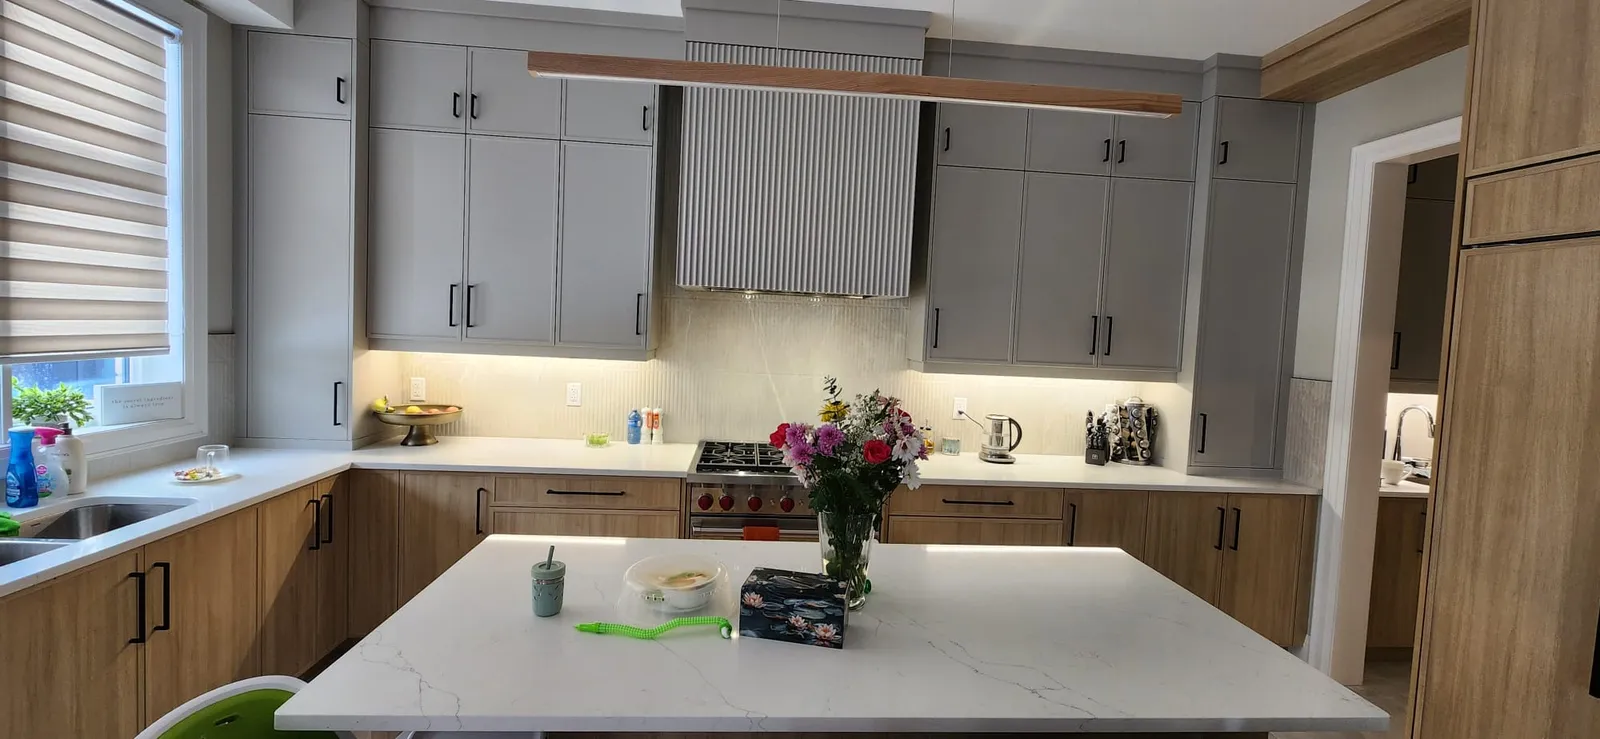
Colour temperature is measured in kelvin. Most homes look best at 2700K to 3000K, which reads as warm white. 3500K to 4000K is neutral and suits laundry rooms, garages and workshops. Above 5000K reads as blue-white daylight, which feels clinical in a living room at night.
The single most important rule is to keep one colour temperature per room. A kitchen with 3000K pot lights and 4000K under-cabinet strips looks patchy on a white quartz counter, and the difference shows most in exactly the place you look at most. Buy every fixture for the room with the same kelvin number printed on the box.
Check the colour rendering index (CRI) as well. A CRI of 90 or higher shows wood, skin, food and paint colours close to how they look in daylight; lower numbers make warm finishes look flat and grey. For brightness, compare lumens, not watts, because LED wattage says little about how much light you get.
Draw the switches the way you will walk through the house. Every switch belongs at the door you enter by, on the latch side, so you do not reach behind an open door in the dark. Then give each layer its own control, and put a dimmer on every layer you would ever want lower.
| Room | Separate controls worth having | Switched from |
|---|---|---|
| Kitchen | Pot lights (dimmed), island pendants (dimmed), under-cabinet strips | Each entry into the kitchen; under-cabinet also near the sink |
| Open living and dining | Living pot lights, dining chandelier, cove or accent strip | The hallway entry and the kitchen side |
| Bathroom | Ceiling light, vanity or lit mirror, shower niche strip, exhaust fan | Outside or just inside the door |
| Bedroom | Ceiling light (dimmed), reading lights | The door, plus beside the bed |
| Stairs and long halls | One lighting circuit | Both ends (three-way switching) |
Two details save trouble later. First, LED fixtures and dimmers have to be matched: a dimmer that is not on the fixture maker's compatibility list can cause flicker, buzzing, or lights that will not dim below half. Second, many smart switches need a neutral wire in the switch box. Plenty of older GTA houses do not have one there, so if you might want smart switches, have the electrician run a neutral to each box while the walls are open.
Each of these rooms has its own lighting problem: the kitchen has shadows on the counter, the bathroom has moisture and faces in a mirror, and the basement has little or no daylight. The fixes are different, so plan them room by room rather than with one rule for the house.
In Ontario, electrical work done for pay in your home must be done by a Licensed Electrical Contractor, and it has to be filed with the Electrical Safety Authority (ESA), which inspects it. Ask for the ESA notification number before work starts and for the inspection result when it is finished.
This applies to new pot lights, new circuits, moved switches and new boxes, not only to panel work. A renovation in an older Toronto house can also uncover knob-and-tube or ungrounded wiring; with the walls open, it is the cheapest moment to replace it, and many insurers ask about it. Building permit questions are separate, and our guide to Toronto renovation permits covers them.
The last chance to change lighting cheaply is the walk-through after rough-in electrical and before insulation and drywall. Walk every room with the plan in hand and check each item below. Anything missed now is a hole in a finished ceiling later.
Lighting belongs in the plan for a kitchen renovation, bathroom renovation and whole-home renovation, and it should be drawn before the electrician starts. If you are planning a project in Toronto or the GTA, book an on-site consultation and bring the lighting questions with you.
A common starting rule is about half the ceiling height, so roughly 4 feet apart on an 8-foot ceiling, with the first row 2 to 3 feet from the walls. The final layout depends on the fixture's beam, the joists and ducts in the ceiling, and where you actually need light, such as over counters.
Most living spaces look best between 2700K and 3000K, which is warm white. Neutral 3500K to 4000K suits laundry rooms, garages and workshops. Whatever you choose, keep every fixture in one room at the same colour temperature, and look for a CRI of 90 or higher so finishes show their true colour.
Usually the dimmer and the LED fixture are not compatible. LED makers publish lists of dimmers tested with their products. Replacing the dimmer with one from that list normally stops flicker, buzzing and lights that will not dim fully. A loose connection can also cause flicker, which an electrician should check.
New electrical work, including added pot lights and moved switches, must be filed with the Electrical Safety Authority and inspected. Work done for pay must be done by a Licensed Electrical Contractor, who files the notification. Ask for the ESA notification number before the work starts.
Flooring
Which flooring holds up to road salt, slush and the dry-winter, humid-summer swings of a Toronto house, room by room, and the installation steps that matter.
Read the guide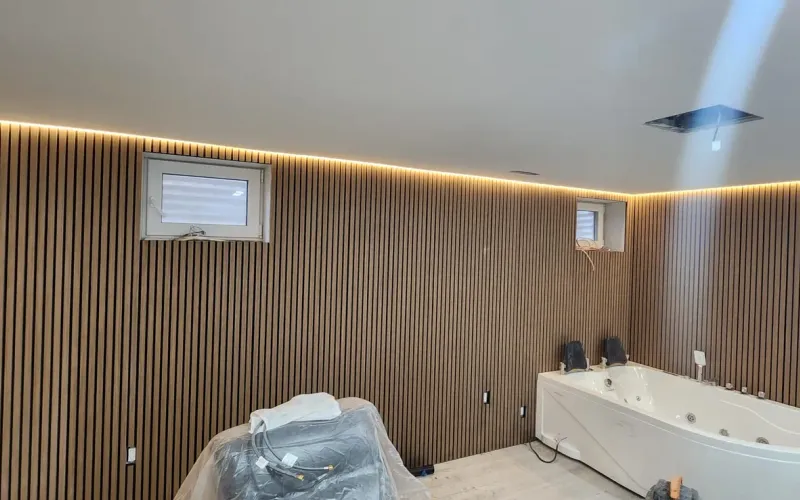
Basements
Where basement moisture in a Toronto home comes from, how to test for it, which fixes go outside and inside, and how to build walls that stay dry after.
Read the guide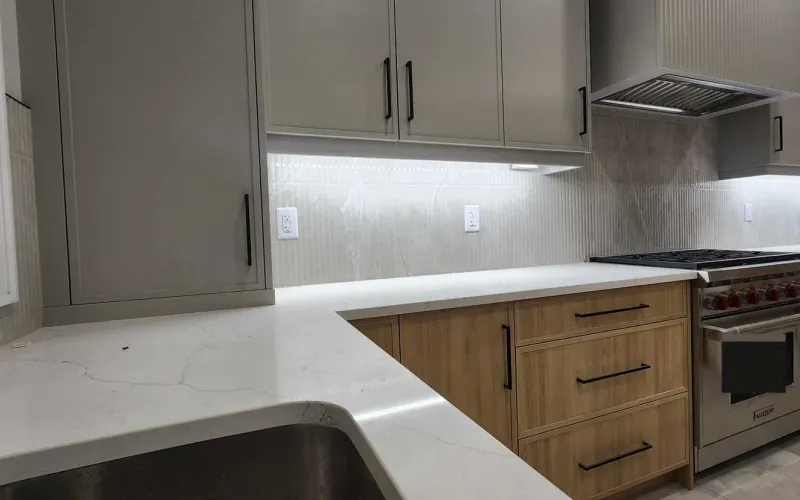
Kitchens
Quartz, granite, laminate or butcher block for a Toronto kitchen: how each handles heat, water, knives and stains, and what to settle before templating.
Read the guide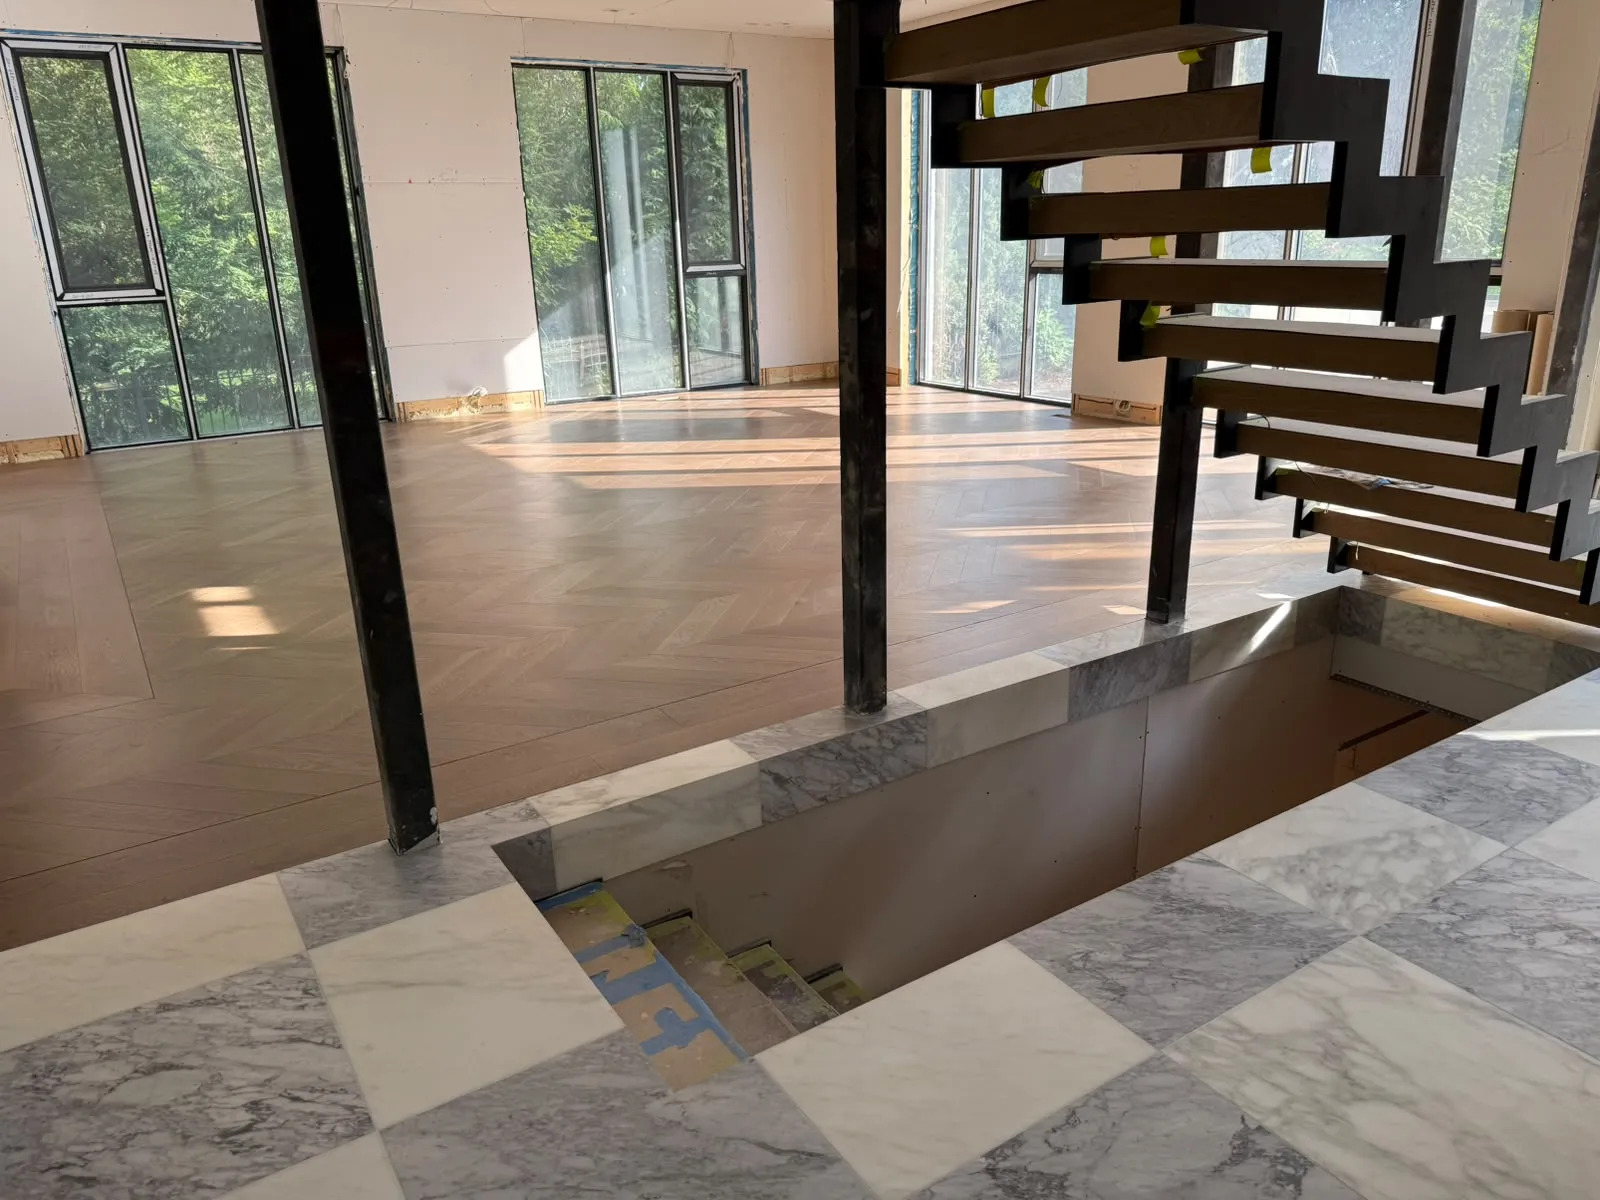
We will walk the space with you, tell you what it actually takes, and put it in writing.