Countertop template day: what has to be ready in the kitchen
Before the countertop template visit, the cabinets, sink, faucet, range and backsplash outlets must be in place. What ready looks like and what you decide.
Kitchen Renovations · November 20, 2026 · 8 min read
The countertop template visit is short, but it fixes the shape of a piece of stone that will be cut in a shop and then carried in through your front door. Whatever is in the kitchen that morning is what the stone is cut to. A cabinet that still moves, a sink that is still on a store shelf or an outlet that has not been placed all turn into guesses, and a guess in quartz or granite cannot be trimmed on site the way laminate can.
So the countertop template is booked when the kitchen is ready for it, not on the day the cabinets arrive. Below is what ready looks like, the choices you make with the templater in the room, and what happens in the weeks after. If you are still picking the material, our comparison of quartz, granite, laminate and butcher block comes first.
What does the templater record on the visit?
A plan of every edge and every hole the finished top will have, taken from the cabinets and walls as they stand. Some fabricators use a laser or a photo system, others glue thin strips into a full-size pattern. Either way the shop cuts from that plan, and you are usually asked to sign it.
Ends and front edge
Where each run stops, which ends are exposed and get a finished edge, and which ones die into a wall or a tall cabinet.
The wall behind
Older plaster walls are rarely straight. The plan follows how far the wall wanders, so the back edge meets it instead of leaving a gap for caulk to fill.
Cut-outs and holes
The sink, a cooktop if there is one, and every hole for the faucet, a soap pump, a filtered water tap or a disposal switch.
Seams
Where two pieces meet on a long run or around a corner. Each seam has to land over cabinet sides that can carry it.
Overhangs
The seating side of an island or a peninsula, and how far the stone reaches past the boxes.
Stone on the wall
If the stone carries on up the wall, its height, its ends and each outlet and switch it has to go around.
What has to be finished before the visit?
Everything the stone sits on, touches or goes around. The cabinets are fixed and level, the old top is gone, the sink and faucet are in the house, any appliance that sits between two runs is on site, and the plumbing and wiring are roughed in where the stone will meet them.
Item
Ready looks like
Not ready looks like
Base cabinets
Screwed to the wall and to each other, shimmed level both ways, fillers and end panels on
Boxes standing loose, or a run that rocks when you lean on it
Old countertop
Taken off, unless the fabricator has said they template over it
Still on, and nobody has agreed who removes it or when
Sink
In the house, out of its box, sitting in or beside its cabinet
Picked from a website and not delivered yet
Faucet and extras
On site, with the number of holes agreed
Still being chosen, so nobody knows how many holes to drill
Range or cooktop
The unit itself in the room, or its installation sheet with the cut-out and opening sizes
Model not decided, or a different model on back order
Plumbing
Supply lines and drain roughed in at the sink cabinet
Pipes still to be moved to a new sink position
Backsplash outlets
Boxes set at their final height and position by the electrician
Boxes to be added or moved after the counter goes in
Island ends
Finished floor in place where a stone end panel will come down to it
Floor to be laid after the template, which changes the height of every end panel
Supports
Brackets or blocking fixed for each overhang and for any narrow strip of stone behind a cooktop
Left for whoever sets the top to work out on install day
If anything in the right-hand column is still true on the morning of the visit, most fabricators would rather move the appointment than cut from a guess. We place the visit in our own schedule for that reason: after the boxes and the rough-ins, before any backsplash tile.
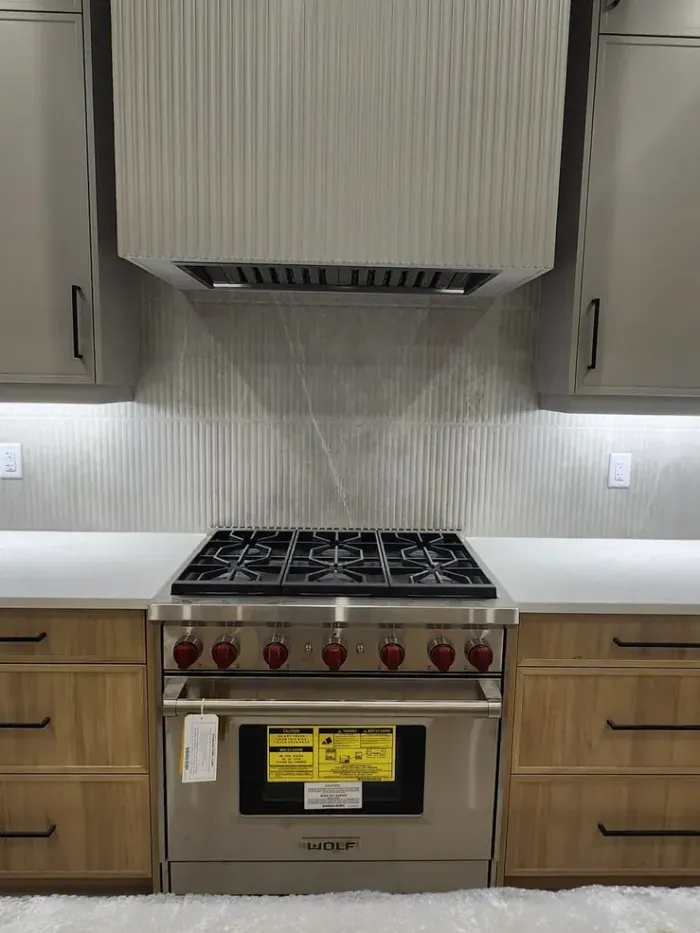
A freestanding range between two runs of counter. The width of that gap, and where each run stops, are set at the template visit, so the range or its installation sheet has to be in the house that morning.
Which decisions are fixed on template day?
The ones that change the shape of the stone. Colour and material were settled long before. What is left are details where two options both look fine on paper and come out differently once cut. Settle them before the templater leaves, because after the plan is signed each change means a new piece.
How much of the sink rim shows
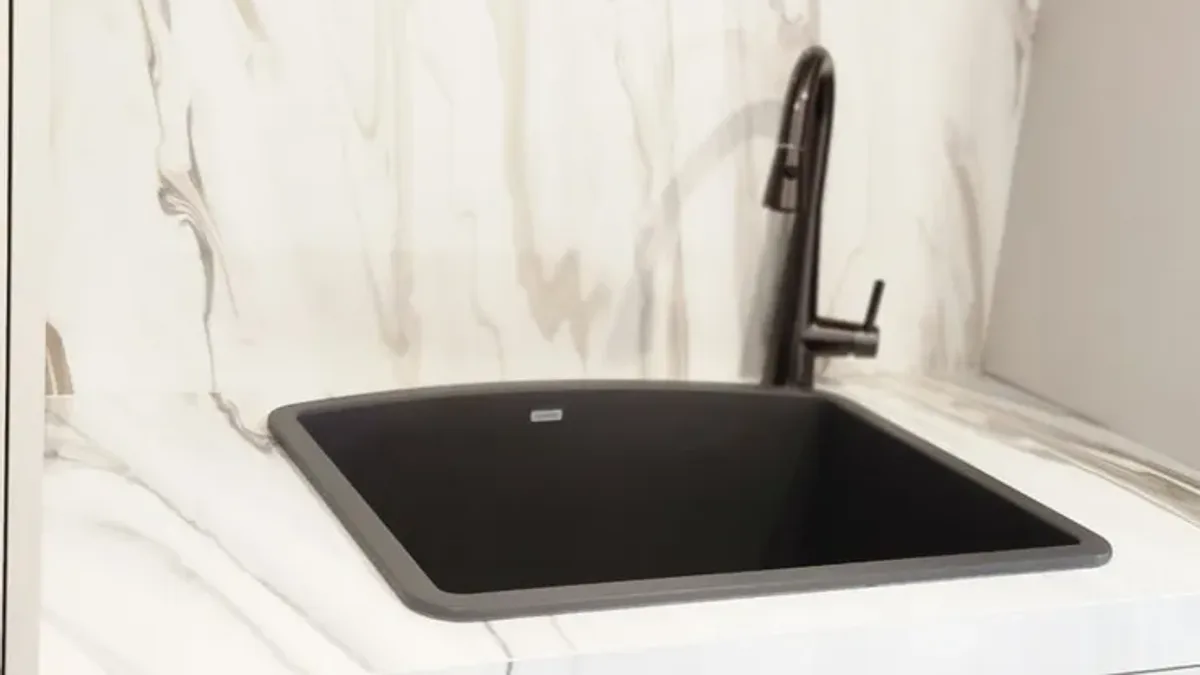
An undermount sink can sit with the stone flush to its inside wall, with the stone set back so a thin line of the sink rim shows, or with the stone reaching slightly past the rim. Flush is the easiest to wipe clean. The templater measures the sink itself for any of these, which is why it has to be in the room.
How many holes, and on which side
Faucet, soap pump, filtered water tap, a switch for a disposal: each one is a hole through stone. Decide the count and which side of the sink each one goes. A wall-mounted faucet means no hole in the counter at all, but its pipes have to be in the wall before anything closes it.
Where the seams land
Ask to see where each seam is planned. On a veined stone, many people would rather have a seam at an inside corner than in the middle of the run they look at most. Wherever it goes, it still needs a cabinet side under it.
How far the overhang reaches, and what holds it
Seating at an island needs knee room, and stone that reaches well past the boxes needs something under it. Brackets, a steel plate or a thicker end panel are chosen now, because they are fixed to the cabinets before install day.
How high the stone goes on the wall
A short stone lip, stone up to the underside of the upper cabinets, or no stone on the wall and tile instead. A full-height stone backsplash is measured with the outlet boxes already in place. Where it stops at each end is the subject of our guide on where to end a kitchen backsplash.
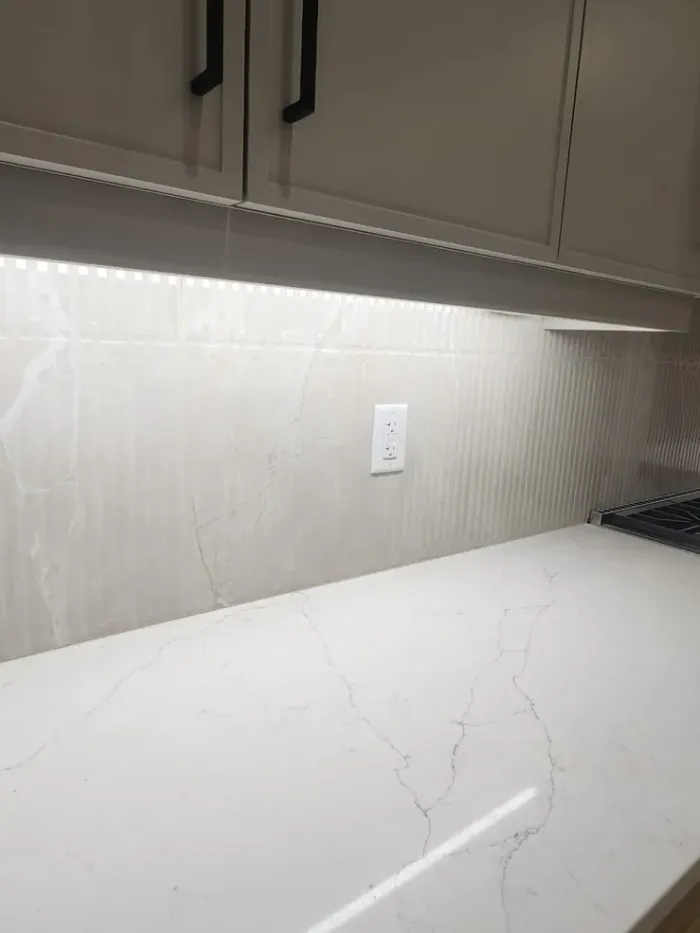
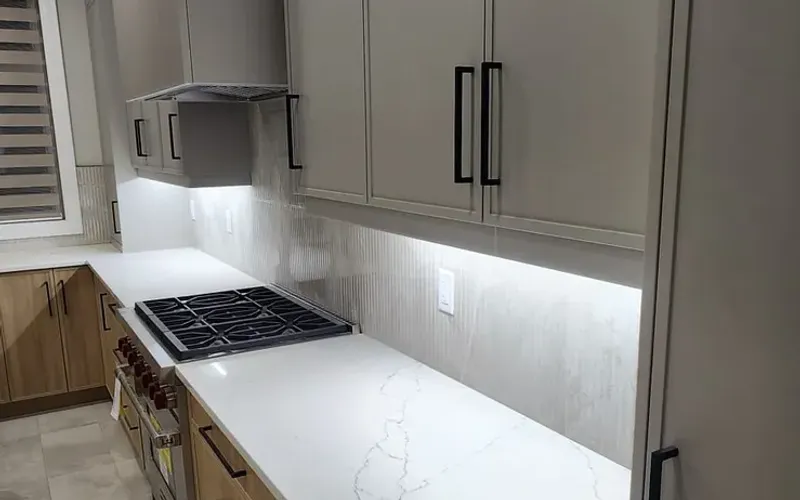
A stone backsplash above a quartz counter. The opening around the outlet fits the box closely, which only works when the box is at its final height on the day the wall is measured.
The edge profile
An eased square edge, a bevel, a rounded bullnose or a thicker mitred front. The profile changes the plan at every exposed end, so it belongs in what you sign, not in a later phone call.
What happens between the template and the install?
The shop draws the pieces and lays them out on the slabs, and with a veined stone you may be asked to approve that layout too. Cutting starts after the approval. From here on, nothing the stone touches should change: no cabinet moved, no floor laid under an end panel, no outlet shifted.
1. Template visit, with the cabinets, sink, faucet and appliances in place.
2. The plan and the slab layout come back for your sign-off.
3. The pieces are cut and their edges finished in the shop.
4. Install day: the top is set and levelled, seams are joined, and an undermount sink is fixed to the stone.
5. The plumber connects the faucet and the drain, and the range or cooktop is hooked up by the licensed trade for gas or electric.
6. Backsplash tile, because the finished counter sets the bottom line of the tile.
7. Paint touch-ups, once the heavy pieces have been carried past the walls.
How long the shop needs depends on the fabricator and the stone, so ask at the visit and plan the kitchen around that answer. The full order of a kitchen job is laid out in what a kitchen renovation involves, week by week.
A walk-round the evening before
Ten minutes in the kitchen the night before is what saves a second visit. Do it with whoever will be home for the appointment, since fabricators ask for an adult who can sign the plan to stay for the whole visit.
Lean on every run of cabinets. Nothing should move or rock.
Set a level on the cabinet tops, front to back and end to end.
Unbox the sink and stand it in or next to its cabinet.
Put the faucet, the soap pump and any filter tap on the sink cabinet.
Check the range or cooktop is in the room, or print its installation sheet.
Look at each outlet box along the backsplash wall and confirm it is where it will stay.
Clear the counters, the floor in front of them and a corner for the templater's equipment.
Write your choices on one page: sink rim, number of holes, edge, seams to avoid, overhang depth.
Keep pets out of the kitchen for the morning.
We fit the template visit into the job as part of a kitchen renovation, after the boxes are fixed and the rough-ins are done. The backsplash that follows the stone is the work described on our tile and backsplash installation page.
Questions homeowners ask about this
Do I need to remove my old countertop before the template?
Usually yes. Most fabricators want to template on bare cabinets, because the old top hides how level the boxes are. Some can template over it with a laser, so ask yours before the day and agree who takes the old top off.
Does the sink have to be there for the countertop template?
For an undermount sink, yes. The cut-out is made to the actual sink, and the size listed online is not always the size of the bowl in the box. For a drop-in sink, the maker's cut-out sheet is the minimum.
Should the backsplash go up before or after the countertop?
Tile goes up after the counter is installed, because the counter sets the bottom line of the tile. A stone backsplash is normally measured at the same visit as the counter, with the outlet boxes already at their final height.
Who should be home for the template visit?
Someone who can approve the plan, the seams and the cut-outs, for the whole visit. A change after that approval usually means cutting a new piece of stone.